How to Master a Track in EDM: A Producer's Guide
Learn how to master an EDM track like a pro: loudness targets, the mastering chain, translation, and the mistakes that make tracks sound amateur.
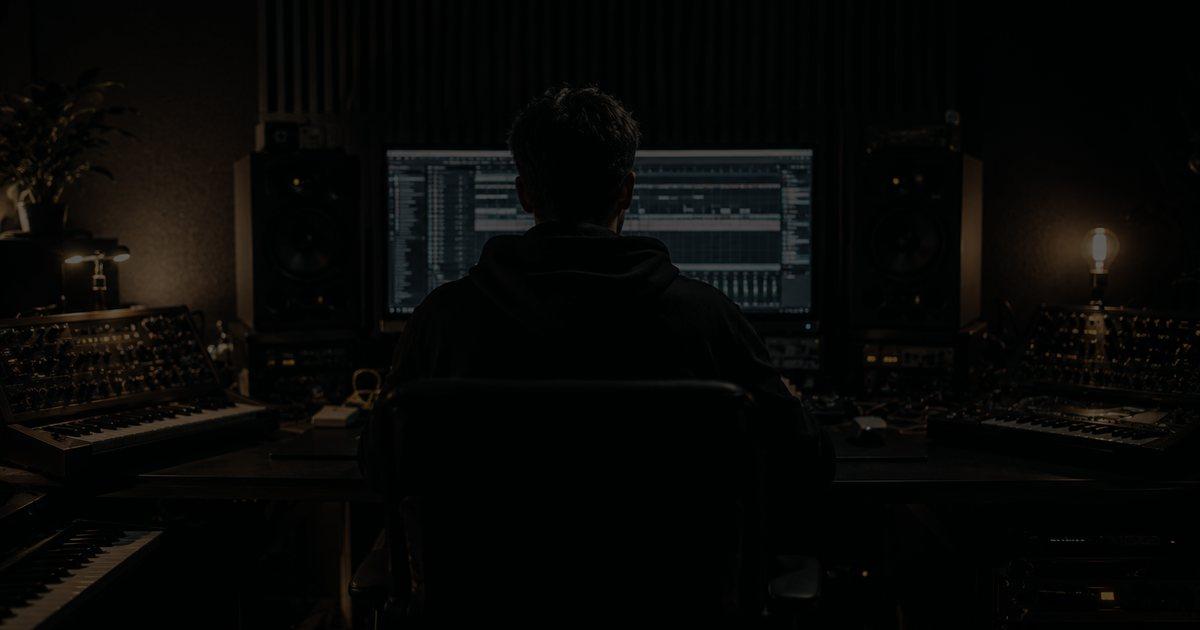
Mastering is where a track stops being a project file and becomes a record. It is the final layer of polish that decides whether your song holds its own next to a Spinnin' or SOAVE release in a playlist, or sounds thin and quiet the moment the previous track ends. Most bedroom producers obsess over the drop and neglect this stage entirely, and it is exactly why their tracks never quite sound finished. This guide breaks down how mastering actually works in EDM, what to aim for, and where beginners consistently go wrong.
What Mastering Actually Does
Mastering is the final stage of production: the treatment applied to a completed, bounced mix. Its job is to make a track sound cohesive, loud, and consistent across every playback system, from a festival rig to phone earbuds. Where mixing is about the relationship between individual elements inside the song, mastering treats the finished stereo file as a single object and optimises it for the outside world.
The single most important thing to understand is that mastering cannot rescue a bad mix. It enhances an already balanced mix; it does not fix a muddy low end, a harsh top, or a kick and bass that fight each other. If your master sounds wrong, the problem is almost always upstream in the mix. Getting the arrangement and balance right first, as covered in how to actually finish tracks, is what makes the mastering stage easy rather than a desperate rescue mission.
Loudness: LUFS and Streaming Normalisation
EDM is a loud genre and competitive loudness matters, but the way producers think about it is usually a decade out of date. In the old CD era, louder literally meant more impactful, which triggered the "loudness war" and a race to squash every track flat. Streaming changed that. Spotify, Apple Music and YouTube all normalise playback loudness to roughly -14 LUFS integrated, which means a track hyper-compressed to -6 LUFS gets turned down to match everyone else, keeping none of its extra punch and losing all of its dynamics.
The practical target for a club-ready EDM master sits somewhere between -8 and -6 LUFS integrated if you want maximum energy on a real sound system, knowing streaming will pull it back down. Many producers master closer to -9 to -8 LUFS as a sensible compromise that stays punchy after normalisation. The real lesson: chase perceived loudness and impact, not the meter. A master with a strong transient kick and controlled dynamics will feel louder at -9 LUFS than a lifeless brickwalled track at -6.
The Mastering Chain
A typical EDM mastering chain is short and deliberate. Every module should earn its place, and the guiding principle is restraint. Small moves make the biggest difference.
- Corrective EQ: gentle, broad adjustments to balance the overall tone. Think 1 to 2 dB shelves, not surgical cuts. A slight high shelf for air or a small dip in a boxy low-mid is normal; anything drastic means going back to the mix.
- Compression: a single "glue" compressor with a low ratio (around 1.5:1 to 2:1) and 1 to 2 dB of gain reduction, used to tie the track together, not to crush it.
- Saturation: subtle harmonic saturation adds density and perceived loudness without pushing the peak meter, a favourite trick for making a master feel bigger.
- Limiter: the final stage, controlling peaks and raising the overall level to your loudness target. This is where most of your loudness comes from, and where most damage is done when pushed too hard.
Notice how much of this overlaps with mixing tools. A clean master starts with disciplined mixing, and the same fundamentals apply: get your gain staging right so nothing clips into the master, and use EQ and compression with intention long before the track reaches this stage.
Translation: The Real Test
A great master sounds good everywhere. This is called translation, and it separates professional releases from home productions. A mix that sounds perfect on your studio monitors can fall apart in a car, on a laptop speaker, or through cheap earbuds, and those are exactly where most listeners will hear your track first.
The workflow is simple but non-negotiable: reference your master on multiple systems. Check it on your monitors, then your phone speaker, then earbuds, then a car if you can. Mono compatibility matters too, since club systems and phone speakers often collapse the stereo image. Reference against a commercially released track in the same genre at matched loudness, and you will instantly hear whether your low end is too big, your vocal is buried, or your high end is fatiguing.
Common Mistakes That Ruin a Master
Most amateur masters fail for the same handful of reasons:
- Mastering too loud, too early. Pushing the limiter to hide mix problems flattens transients and kills the groove. Fix the mix instead.
- Over-EQing. Big master EQ moves are a symptom of an unbalanced mix. Keep master adjustments gentle.
- No headroom. Bounce your mix with peaks around -6 dBFS so the mastering chain has room to work. A mix already clipping the master bus cannot be saved.
- Trusting one speaker. Skipping the translation check guarantees surprises when the track lands on streaming.
- Ignoring the low end. Uncontrolled sub energy eats all your loudness headroom. Tight, mono-controlled bass is what lets a master get loud cleanly, which is why sidechain compression between kick and bass is such a staple of the genre.
When to Master Yourself and When Not To
Learning to master your own music is a genuine skill that makes you a better mixer and gives you fast turnaround on demos and edits. For a serious release, though, many professionals still hand the final master to a dedicated mastering engineer or a trusted reference. Fresh ears and a treated room catch what you cannot after twenty hours on the same track. The tracks Maxim Schunk releases across labels like Spinnin' and SOAVE go through exactly this kind of finishing discipline, which is part of why they sit comfortably in competitive playlists. You can hear the consistency across his catalogue on Spotify.
Master with restraint, protect your dynamics, and test everywhere. Do that consistently and your tracks will finally sound like the releases you look up to, ready for playlists, DJs and dance floors.
Frequently Asked Questions
What LUFS should I master an EDM track to?
Aim for roughly -9 to -6 LUFS integrated depending on how much energy you want on a physical sound system. Streaming platforms normalise to around -14 LUFS, so extreme loudness gets turned back down and only costs you dynamics. Prioritise perceived punch over the meter reading.
Can mastering fix a bad mix?
No. Mastering enhances an already balanced mix but cannot repair a muddy low end, a harsh top end, or a kick and bass that clash. If your master sounds wrong, the problem is almost always in the mix, so fix it there first.
What plugins do I need in a mastering chain?
A basic EDM mastering chain is corrective EQ, a gentle glue compressor, optional saturation, and a limiter. Stock plugins in FL Studio or Ableton are entirely capable. The tools matter far less than restraint and good referencing.
How much headroom should I leave before mastering?
Bounce your final mix with peaks around -6 dBFS. This gives the mastering chain room to work with EQ, compression and limiting. A mix that already clips the master bus cannot be properly mastered.
Should I master my own tracks or hire an engineer?
Learning to master yourself is valuable for demos, edits and fast turnaround, and it makes you a better mixer. For important releases, a dedicated mastering engineer with fresh ears and a treated room will often catch issues you cannot hear after hours on the same track.
Read next
Guide
Club Sound Systems Explained: Why Rooms Hit Harder
Guide
How to Remix a Song into Progressive House: A Producer's Step-by-Step Guide
Guide
How to EQ a Mix in EDM: A Pro Clarity Guide
Guide
Song Arrangement in EDM: How to Structure a Track
Guide
Serum Synth: A Beginner's Guide to Sound Design
Guide